Install OpenCV 4 with Python 3 on Windows
Posted on September 17, 2016 by Paul
Updated 26 January 2020
If you need a short tutorial about how to get started with OpenCV 4 programming in Python 3.8 on Windows, you are in the right place. Most articles I found online, including the OpenCV documentation, seem concerned only with Python 2.7.
We’ll start by installing the latest stable version of Python 3, which at the time of this writing is 3.8. Head over to https://www.python.org/downloads/ and download the installer. The default Python Windows installer is 32 bits and this is what I will use in this article. If you need the 64 bits version of Python, check the Looking for a specific release? section from the above page.
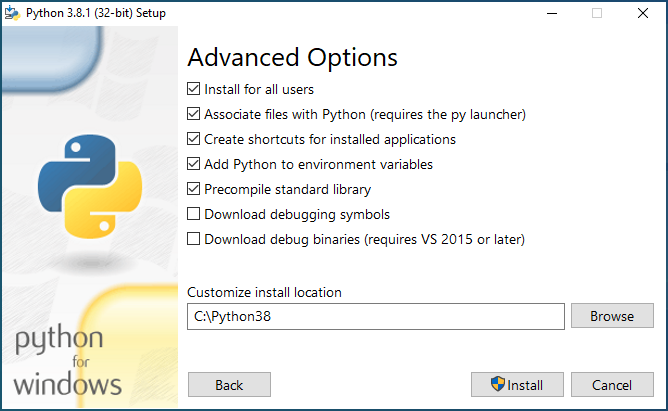
Start the installer and select Customize installation. On the next screen leave all the optional features checked. Finally, on the Advanced Options screen make sure to check Install for all users, Add Python to environment variables and Precompile standard library. Optionally, you can customize the install location. I’ve used C:\Python37. You should see something like this:
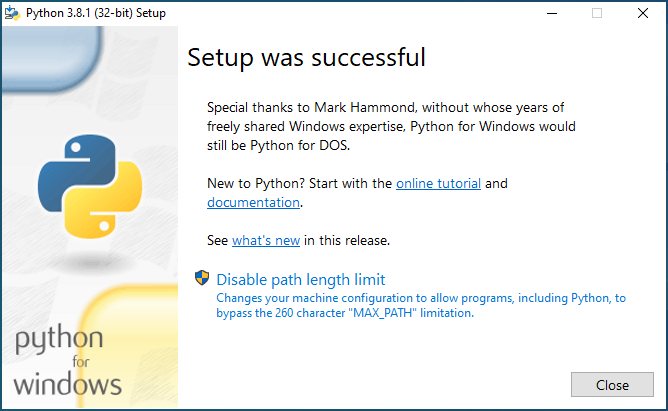
Press the Install button and in a few minutes, depending on the speed of your computer, you should be ready. On the last page of the installer, you should also press the Disable path length limit:
Now, to check if Python was correctly installed, open a Command Prompt (or a PowerShell) window. Press and hold the SHIFT key and right click with your mouse somewhere on your desktop, select Open command window here. Alternatively, on Windows 10, use the bottom left search box to search for cmd.
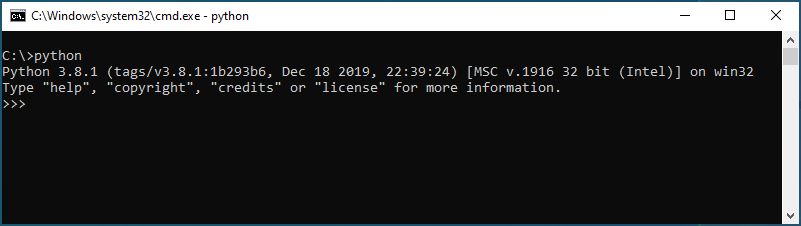
Write python in the command window and press Enter, you should see something like this:
Exit from the Python interpreter by writing quit() and pressing the Enter key.
Open a cmd window like before. Use the next set of commands to install NumPy and OpenCV:
1     python -m pip install numpy
2     python -m pip install opencv-python
After each of the above commands you should see Successfully installed …. You can safely ignore the upgrade pip suggestion.
At this point, you should be able to play with OpenCV and Python. Let’s try a small test first. Start the Python interpreter and write:
1 import cv2
2
3 print(cv2.__version__)
If everything was correctly installed, you should see the version number of your OpenCV install, in my case this was 4.1.2.
Let’s try a final test, in which I’ll show you how to load an image from a file, convert it to gray, and check the results. Start by downloading the next image:
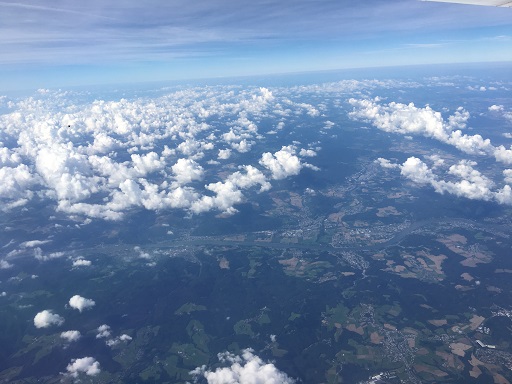
Save it as clouds.jpg. In the same folder where you’ve saved the above image, create a new file demo.py and write this small code:
1 import cv2
2
3 image = cv2.imread("clouds.jpg")
4 gray_image = cv2.cvtColor(image, cv2.COLOR_BGR2GRAY)
5 cv2.imshow("Over the Clouds", image)
6 cv2.imshow("Over the Clouds - gray", gray_image)
7 cv2.waitKey(0)
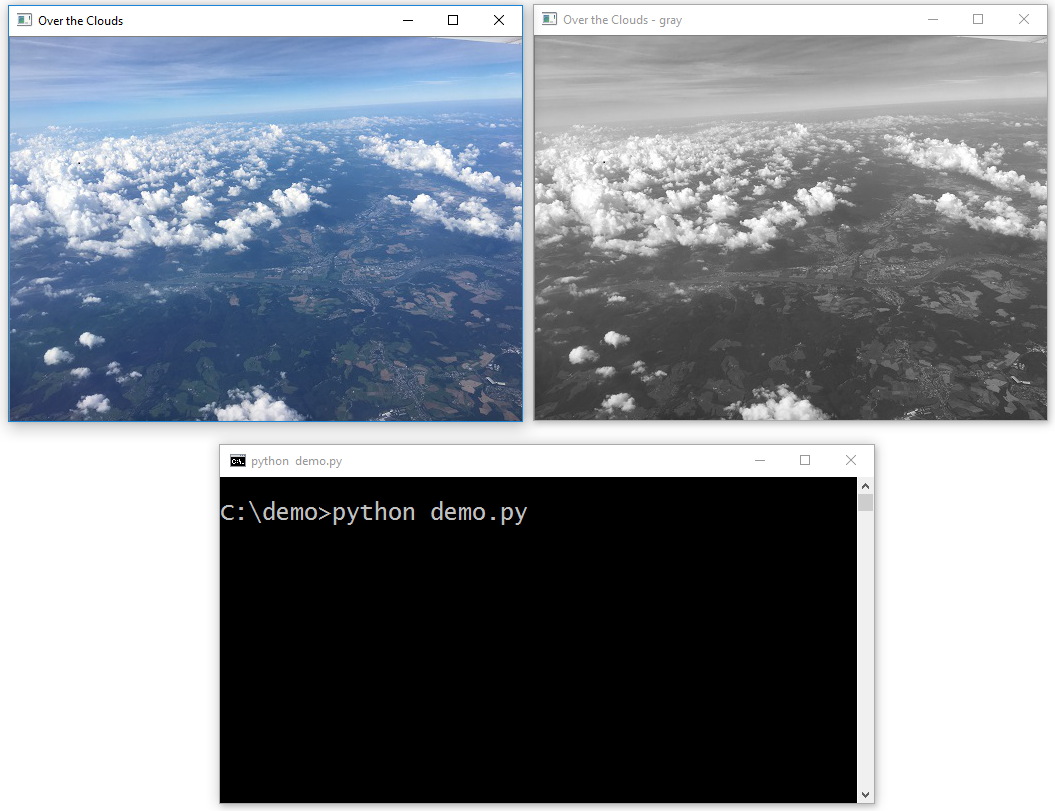
8 cv2.destroyAllWindows()Open a cmd window in this folder and write:
1 python demo.pyYou should see something like this (by default the last image will be over the first one, you need to move the image window in order to see the first image):
If you want to learn more about OpenCV and Python I would recommend reading OpenCV with Python Blueprints by M. Beyeler:
or, OpenCV with Python By Example by G. Garrido and P. Joshi: